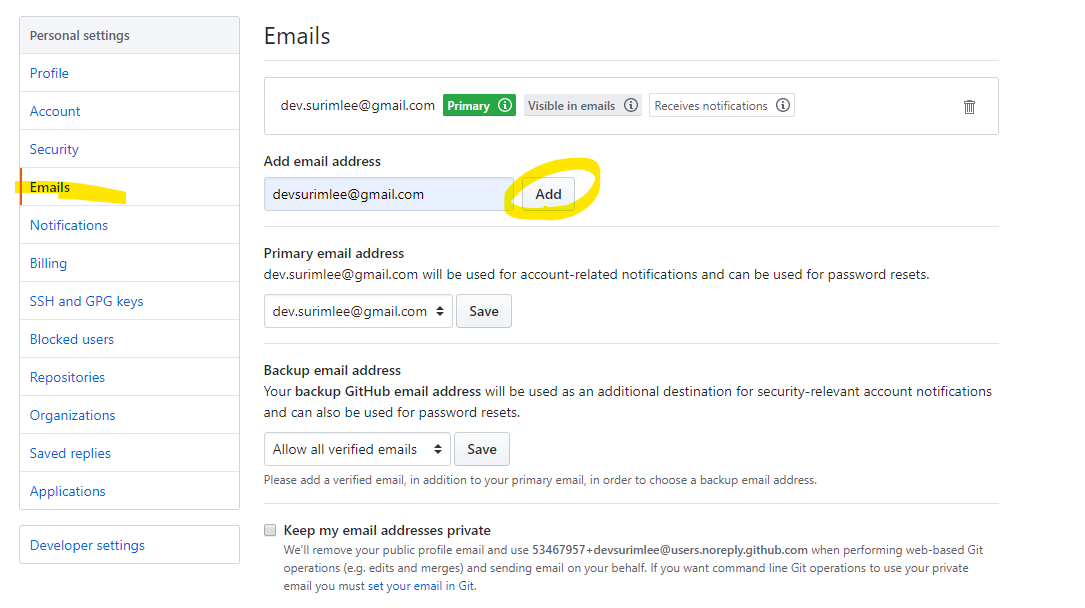
1. Overview > Contribution settings > Private contributions 활성화

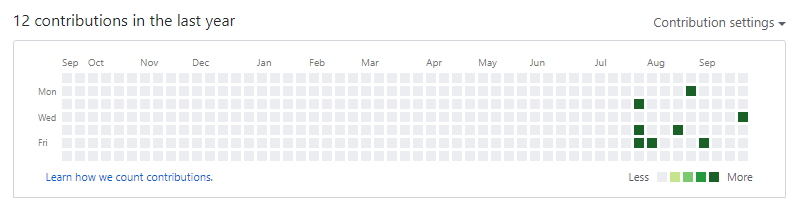
2. 자신이 기여한 리포지토리에 스타를 찍는다.

비공개 조직 탈퇴 후 로그인 상태에서 확인해보면 기록이 잘 뜬다.

깃허브 포럼글의 일부인데 풀리퀘나 이슈도 들어가기는 하지만 별 찍어두는게 안전해보인다.
모두 미리 해둬서 소중한 잔디를 유지하자
A commit will only count as a contribution if one of the following is true:
- You are a collaborator on the repository or are a member of the organization that owns the repository.
- You have forked the repository.
- You have opened a pull request or issue in the repository.
- You have starred the repository.
We recommend starring any repositories you contribute to. That way, your commits to those repositories will remain in your contributions graph even if you leave the organization that owns the repository or delete your fork of the repository. Learn more about stars 116.
- 참고글
Keep Github commit graph when leaving an organization
https://github.com/isaacs/github/issues/1138
Keep Github commit graph when leaving an organization · Issue #1138 · isaacs/github
Hi, I was wondering if we could keep the github commit graph if we leave an organization? I worked really hard for an organization and had more than 2000 contributions for a particular repository a...
github.com
https://github.community/t/getting-all-your-commits-in-your-contributions-graph/10186
Getting all your commits in your contributions graph
The GitHub support team knows that your contributions graph matters. In fact, we have received 1,276 emails about contributions in the past six months alone! We know that it can be frustrating to realize that hours of hard work are missing from your grap
github.community
'Git' 카테고리의 다른 글
| [GIT] commit 수정하기 (--amend, rebase) (0) | 2022.04.05 |
|---|---|
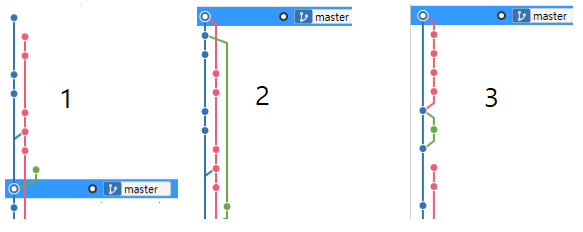
| [Git, SourceTree] rebase로 git 그래프 관리하기 (0) | 2021.11.19 |
| [sourceTree] gitHub 저장소에 push시 인증 에러 (The requested URL returned error: 403 ) (6) | 2021.08.18 |
| [gitHub/eclipse] commit을 해도 contributions 체크가 되지 않는 문제 (0) | 2019.09.28 |
| 깃허브 에서 가져온 프로젝트 에러 (apache tomcat 버전, jstl, build path) (0) | 2019.09.24 |